How to Photograph Chess After Dark
Share
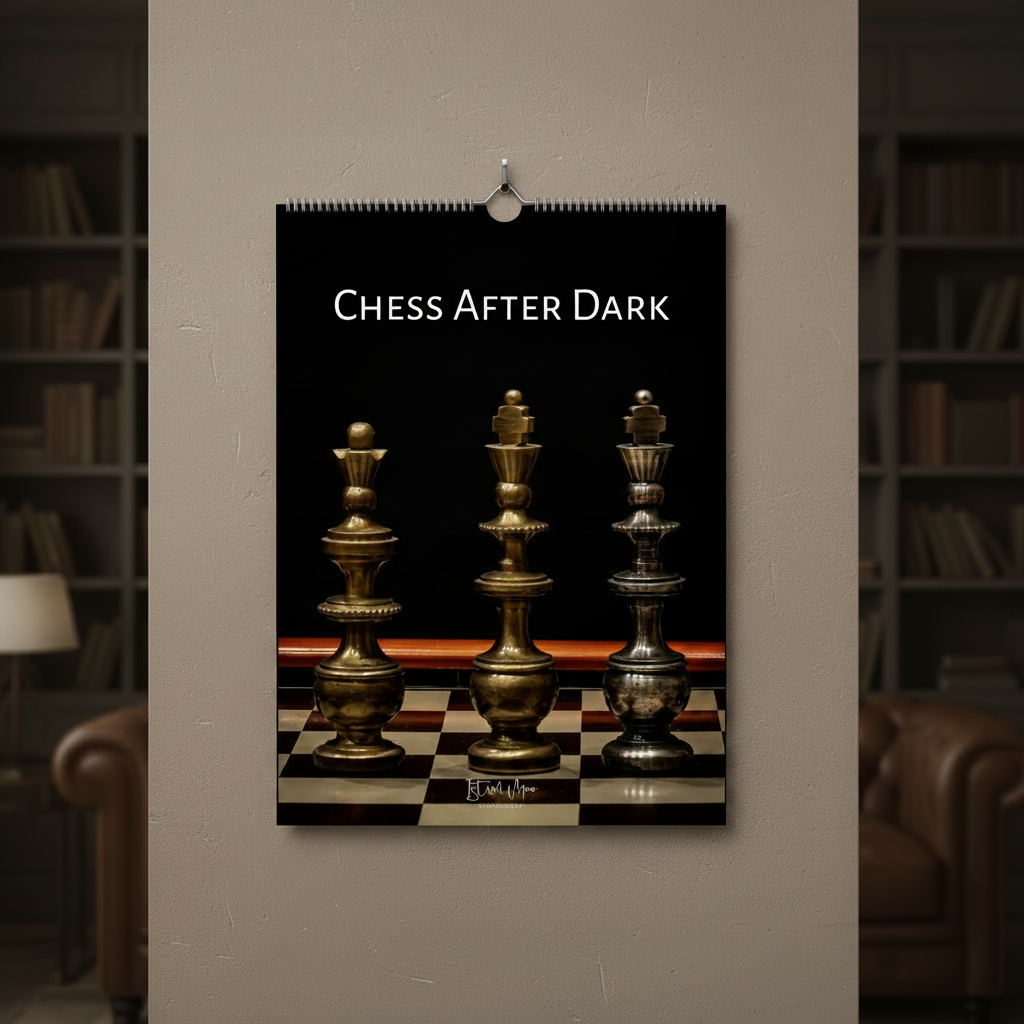
There's something about a chessboard after dark that a daylight shot just can't capture. Take the same pieces, the same board, and light them at night instead — suddenly every knight casts a long shadow, every reflective surface picks up a pinpoint of light, and the whole scene shifts from a nice product photo to something that feels almost cinematic. It's one of my favourite ways to photograph chess sets, and it's exactly where the Chess After Dark calendar came from.
Here's how I approach it.
Start With a Single Light Source
Daylight photography fights to eliminate shadows. Night chess photography does the opposite — shadows are the whole point. I usually work with one main light: a small LED panel, a desk lamp, sometimes even a phone torch through a diffuser. Position it low and to one side of the board, almost at piece height, rather than straight above. That low angle is what stretches the shadows dramatically across the squares and gives each piece real sculptural presence.
Avoid overhead room lighting entirely if you can. It flattens everything and competes with your main light, muddying the contrast that makes night chess photography work in the first place.
Let the Background Go Black
One of the simplest tricks that makes the biggest difference: kill the ambient light in the room, or shoot somewhere naturally dark. A pitch-black background isolates the board completely — no cluttered bookshelf, no distracting wall, just the pieces suspended in darkness. If your background isn't cooperating, a sheet of black card or fabric a metre or so behind the board does the job.
Play With Reflections
Glass, marble, and polished wood boards come alive at night. A single point of light reflecting off a glossy king or a lacquered square adds a tiny highlight that draws the eye exactly where you want it. If your board is matte, try placing a small mirror or a sheet of dark glossy card just out of frame to bounce a highlight back onto the pieces.
Shoot Low, Shoot Close
Get your camera down near board level rather than shooting from directly above. A low angle exaggerates the height and drama of taller pieces — the king and queen especially — and turns a straightforward, flat, top-down chessboard shot into something with real depth. Combine this with a wide aperture (low f-number) to blur the background pieces slightly, drawing focus to whichever piece is the hero of the frame.
Manual Focus and a Tripod Are Non-Negotiable
In low light, autofocus will hunt constantly and your shutter speed drops fast. A tripod keeps the camera dead still for longer exposures, and switching to manual focus means you're not fighting the camera every time you recompose. I typically work at ISO 400 to 800, a mid-range aperture around f/4 to f/5.6 for a touch of background blur without losing the whole board to softness, and whatever shutter speed the tripod allows me to use safely.
Small Details Make the Shot
Once the lighting is right, it's worth spending time on the small things — the angle of a knight's head, a slight diagonal composition rather than a flat straight-on shot, a wisp of steam from a nearby cup of tea drifting through the light beam. These little details are what separate a technically correct photo from one that actually holds someone's attention.
Why I Built a Whole Calendar Around This
Once I started shooting chess sets this way, I couldn't stop. Every board, every set of pieces, took on a different mood under low light — moody and dramatic with a dark wood set, sharp and jewel-like with glass, warm and intimate with an antique ivory set lit by a single lamp. Twelve months felt like the right amount of room to show the range.
Every set in these photos comes from Endre Simon's chess collection. The story of how I came to photograph it starts in And Simon Says…
If you want to see where all this experimentation ended up, the Chess After Dark Wall Calendar is available here — personalised to order, with a full year of chess sets photographed exactly the way I've described above.